Air conditioning is often referred to as AC, A/C, or air con which is the process of removing heat and moisture from the interior of occupied space, to improve the comfort of occupants. Air conditioning can be used in both domestic and commercial environments. This process is most commonly used to achieve a more comfortable interior environment, typically for humans and other animals; however, air conditioning is also used to cool/dehumidify rooms filled with heat-producing electronic devices, such as computer servers, power amplifiers, and even to display and store some delicate products, such as artwork.
Air conditioning installation should ideally be performed by an experienced professional. Air conditioning installation is time-consuming and requires that you follow a number of steps so that the unit works properly and efficiently. Having it professionally installed means that if there are any snags, a licensed professional is there to fix any problems. if you are looking for air conditioning installation for Brisbane residents don’t look any further.

-
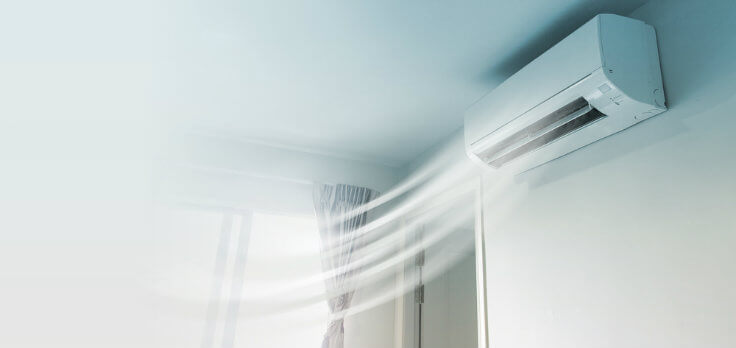
Locate the Indoor Unit
With an indoor air conditioning unit, the positioning of the unit is important for a good air conditioning installation. There should be no pipes around, good air circulation and the unit should not be close to any doorways. For a proper air conditioning installation, furniture should not obscure the front vents of the unit.
2. The Outdoor Unit
In an outdoor setting, make sure that the unit is shaded from the worst part of the sun. It’s made to be weatherproof, but some shading from the sun will help it operate more efficiently. The large fan needs to be facing away from the house.
3. Bend Copper Pipe
When undertaking an air conditioning installation, you shouldn’t use a pipe bender on the copper pipe. This is because units use ½-inch pipe and the bender would simply crush it. Instead, you need to cut the insulation and pull it apart to expose the pipe.
From here, the bending should be done very slowly and carefully. Since you need a wide radius with most units, this isn’t too difficult. Work outward from the center, pressing firmly with your thumbs. Make sure none of the thumb indentations is more than 1 millimeter deep. Put the insulation back into place and secure it with waterproof tape.
4. Water Drain Pipe
With an indoor unit, the water drain pipe can be at either end of the drip tray. Simply make sure the rubber bung is in the hole at the other end.
When you install your water runoff, make sure it’s angled down through the wall and runs a good distance from the house because the unit can put out 4 pints of water a day during the hottest part of the summer.
5. Pipe Connection
When connecting the pipes to the unit during an air conditioning installation, put a tiny drop of oil on all of the facings first. Next, attach the pipes to the brass cones and tighten with two wrenches. Be careful not to overtighten. The copper pipes need to be covered with foam insulation, and you should put foam over all the connecting parts. Make sure no refrigerant is leaking from any of the connectors when you start the unit.
When you know you’re done with your AC unit for the season, go ahead and winterize it before the weather starts to get really cold. If you take a few steps to prepare your air conditioner for the freezing temperatures ahead, your window unit will continue to keep you cool for several summers to come.…
